¶ Dunia Sandbox
Be creative and build your application with Dunia Sandbox!
¶ Launch the Sandbox
Go to https://dunia.esa.int/sandbox and press the button "Launch sandbox".
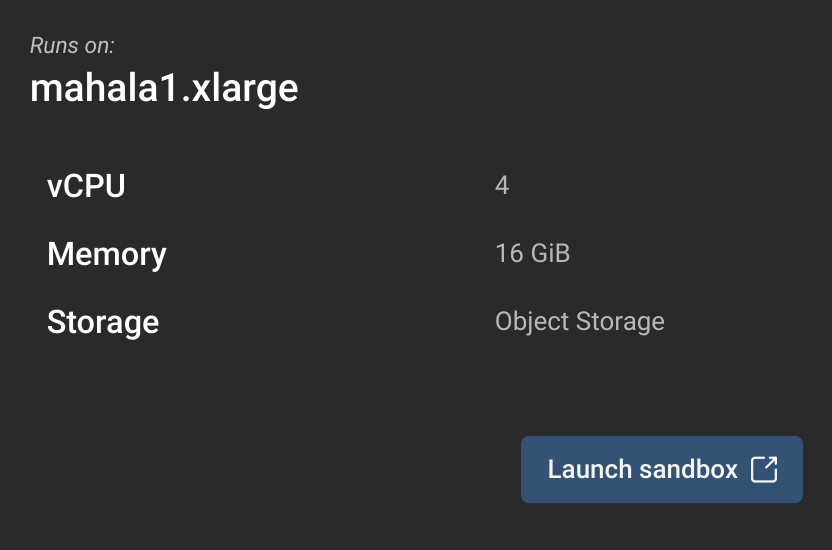
In case you are not signed in yet, press “Log in to your DUNIA account” underneath the button or “Sign in” in the top right corner of the homepage.
¶ Set Up your Environment
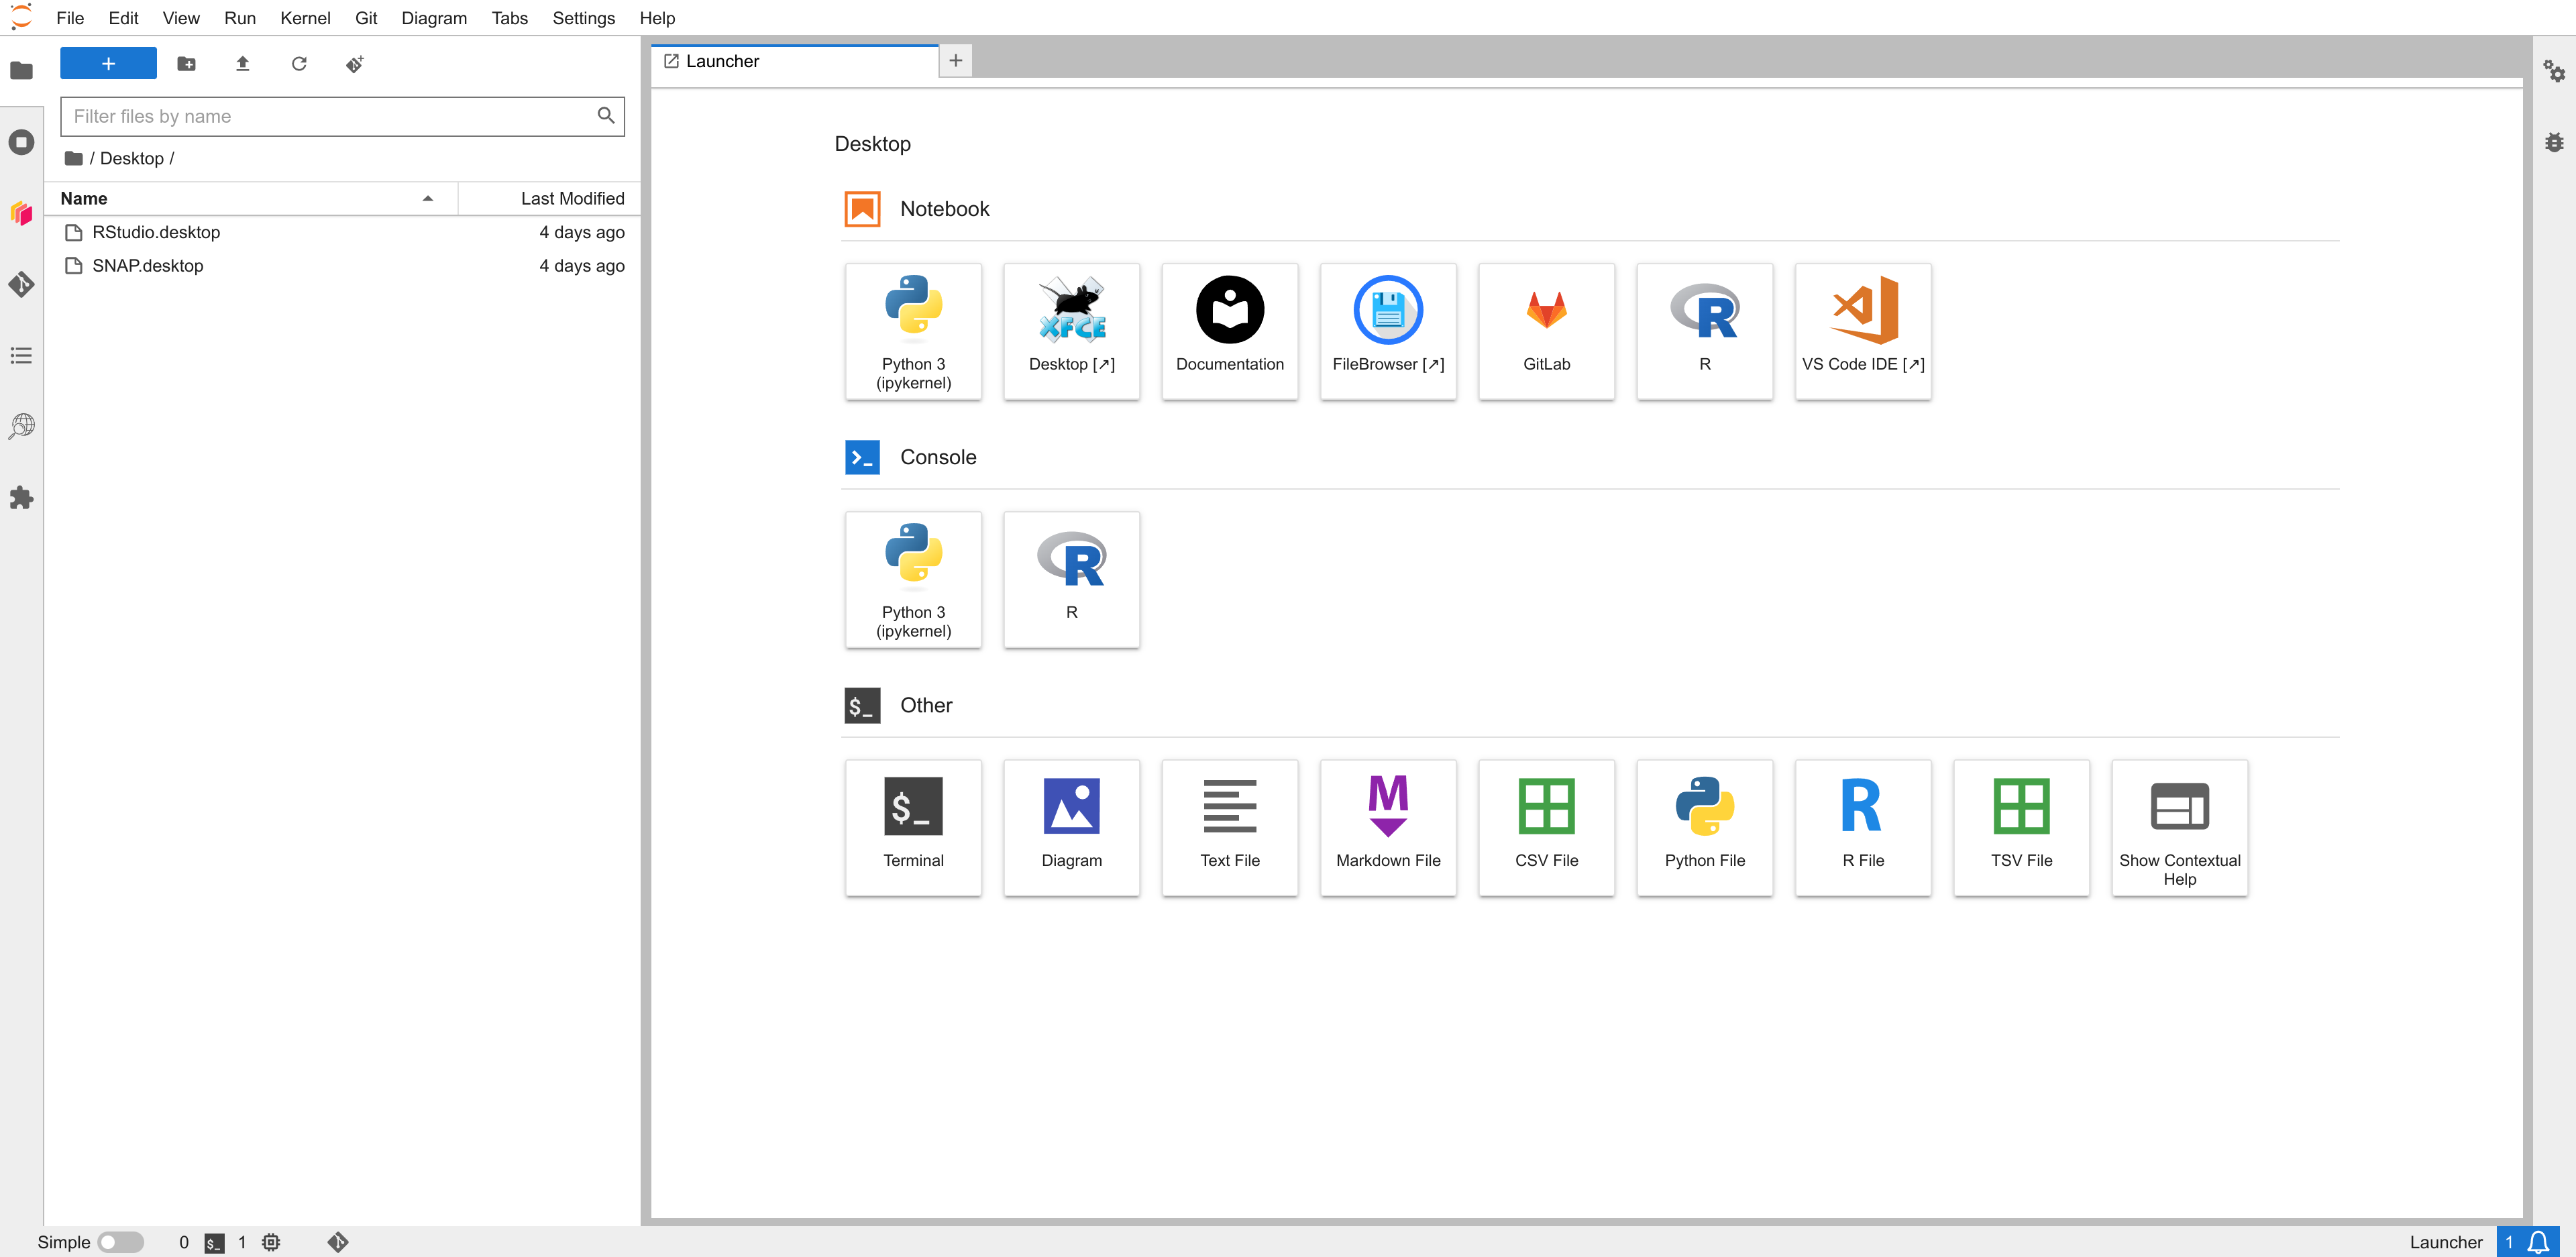
First, you need to choose your Sandbox Launcher.
Let's start with a Jupyter Notebook with Python 3 as kernel. Therefor, press “Python 3” underneath “Notebook”.
¶ Search for Data
On the left sidebar you should see a globe with a magnifier.

This symbol represents the EODAG, a search functionality for your input data such as satellite imagery.
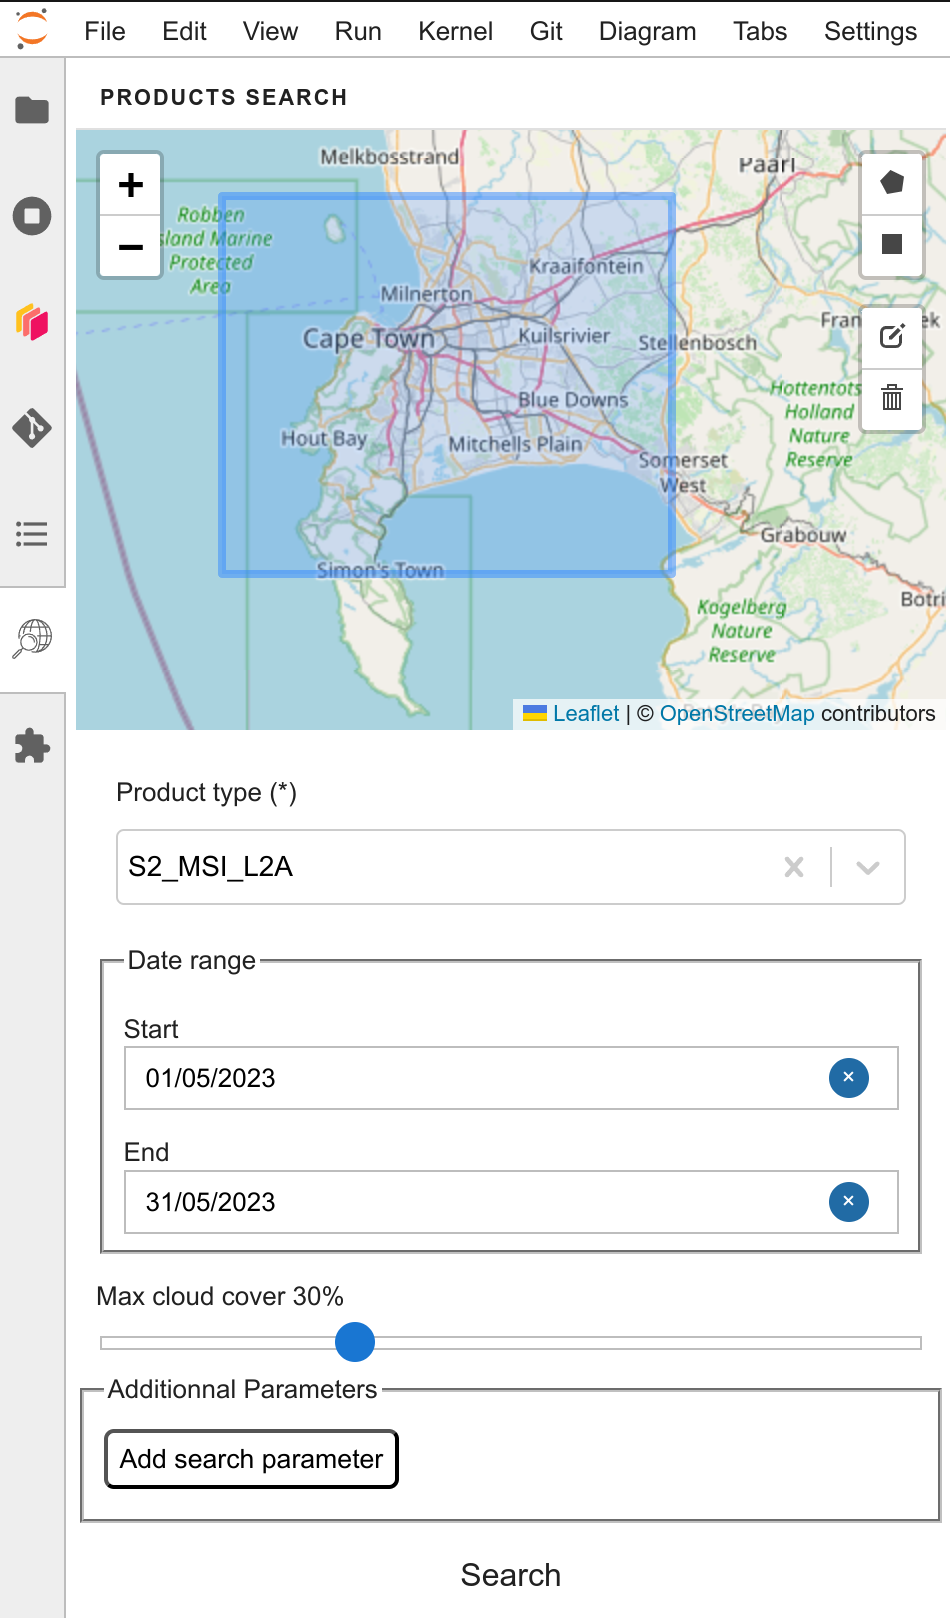
In this example, we search for Sentinel 2 data of Level L2A. The Area of Interest is Cape Town in South Africa while the dates we search for range from the 1st until the 31st of May 2023.
On pressing “Search”, we will retrieve a list of datasets.
We can also use the link to data in eodata by executing the following command lines before “search()”:
dag.update_providers_config("""
creodias_s3:
search:
metadata_mapping:
productIdentifier: '$.properties.productIdentifier'
downloadLink: 'file:///home/eoafrica{productIdentifier}'
""")
This will not change the download approach but we will have a link to the data in eodata in "search_results[0].location".
¶ Start Developing
Now get yourself started and be creative by analyzing your EO data!
Use your knowledge to develop new applications that can be processed inside the Application Hub and shared within the Soko Marketplace.

¶ Analyze and Visualize
To visualize your EO products, open a new Launcher of the type “Desktop” (See image in “Set Up your Environment”). You can do this by clicking “File” in the top left corner and then select “New Launcher” and subsequently “Desktop”.

Now that you are working on a Desktop Environment, you can utilize a wide variety of EO software such as Geographic Information Systems (e.g. QGIS). Let's open QGIS by clicking “Applications” in the top left corner and then select “QGIS" within the “Education” drop-down menu.
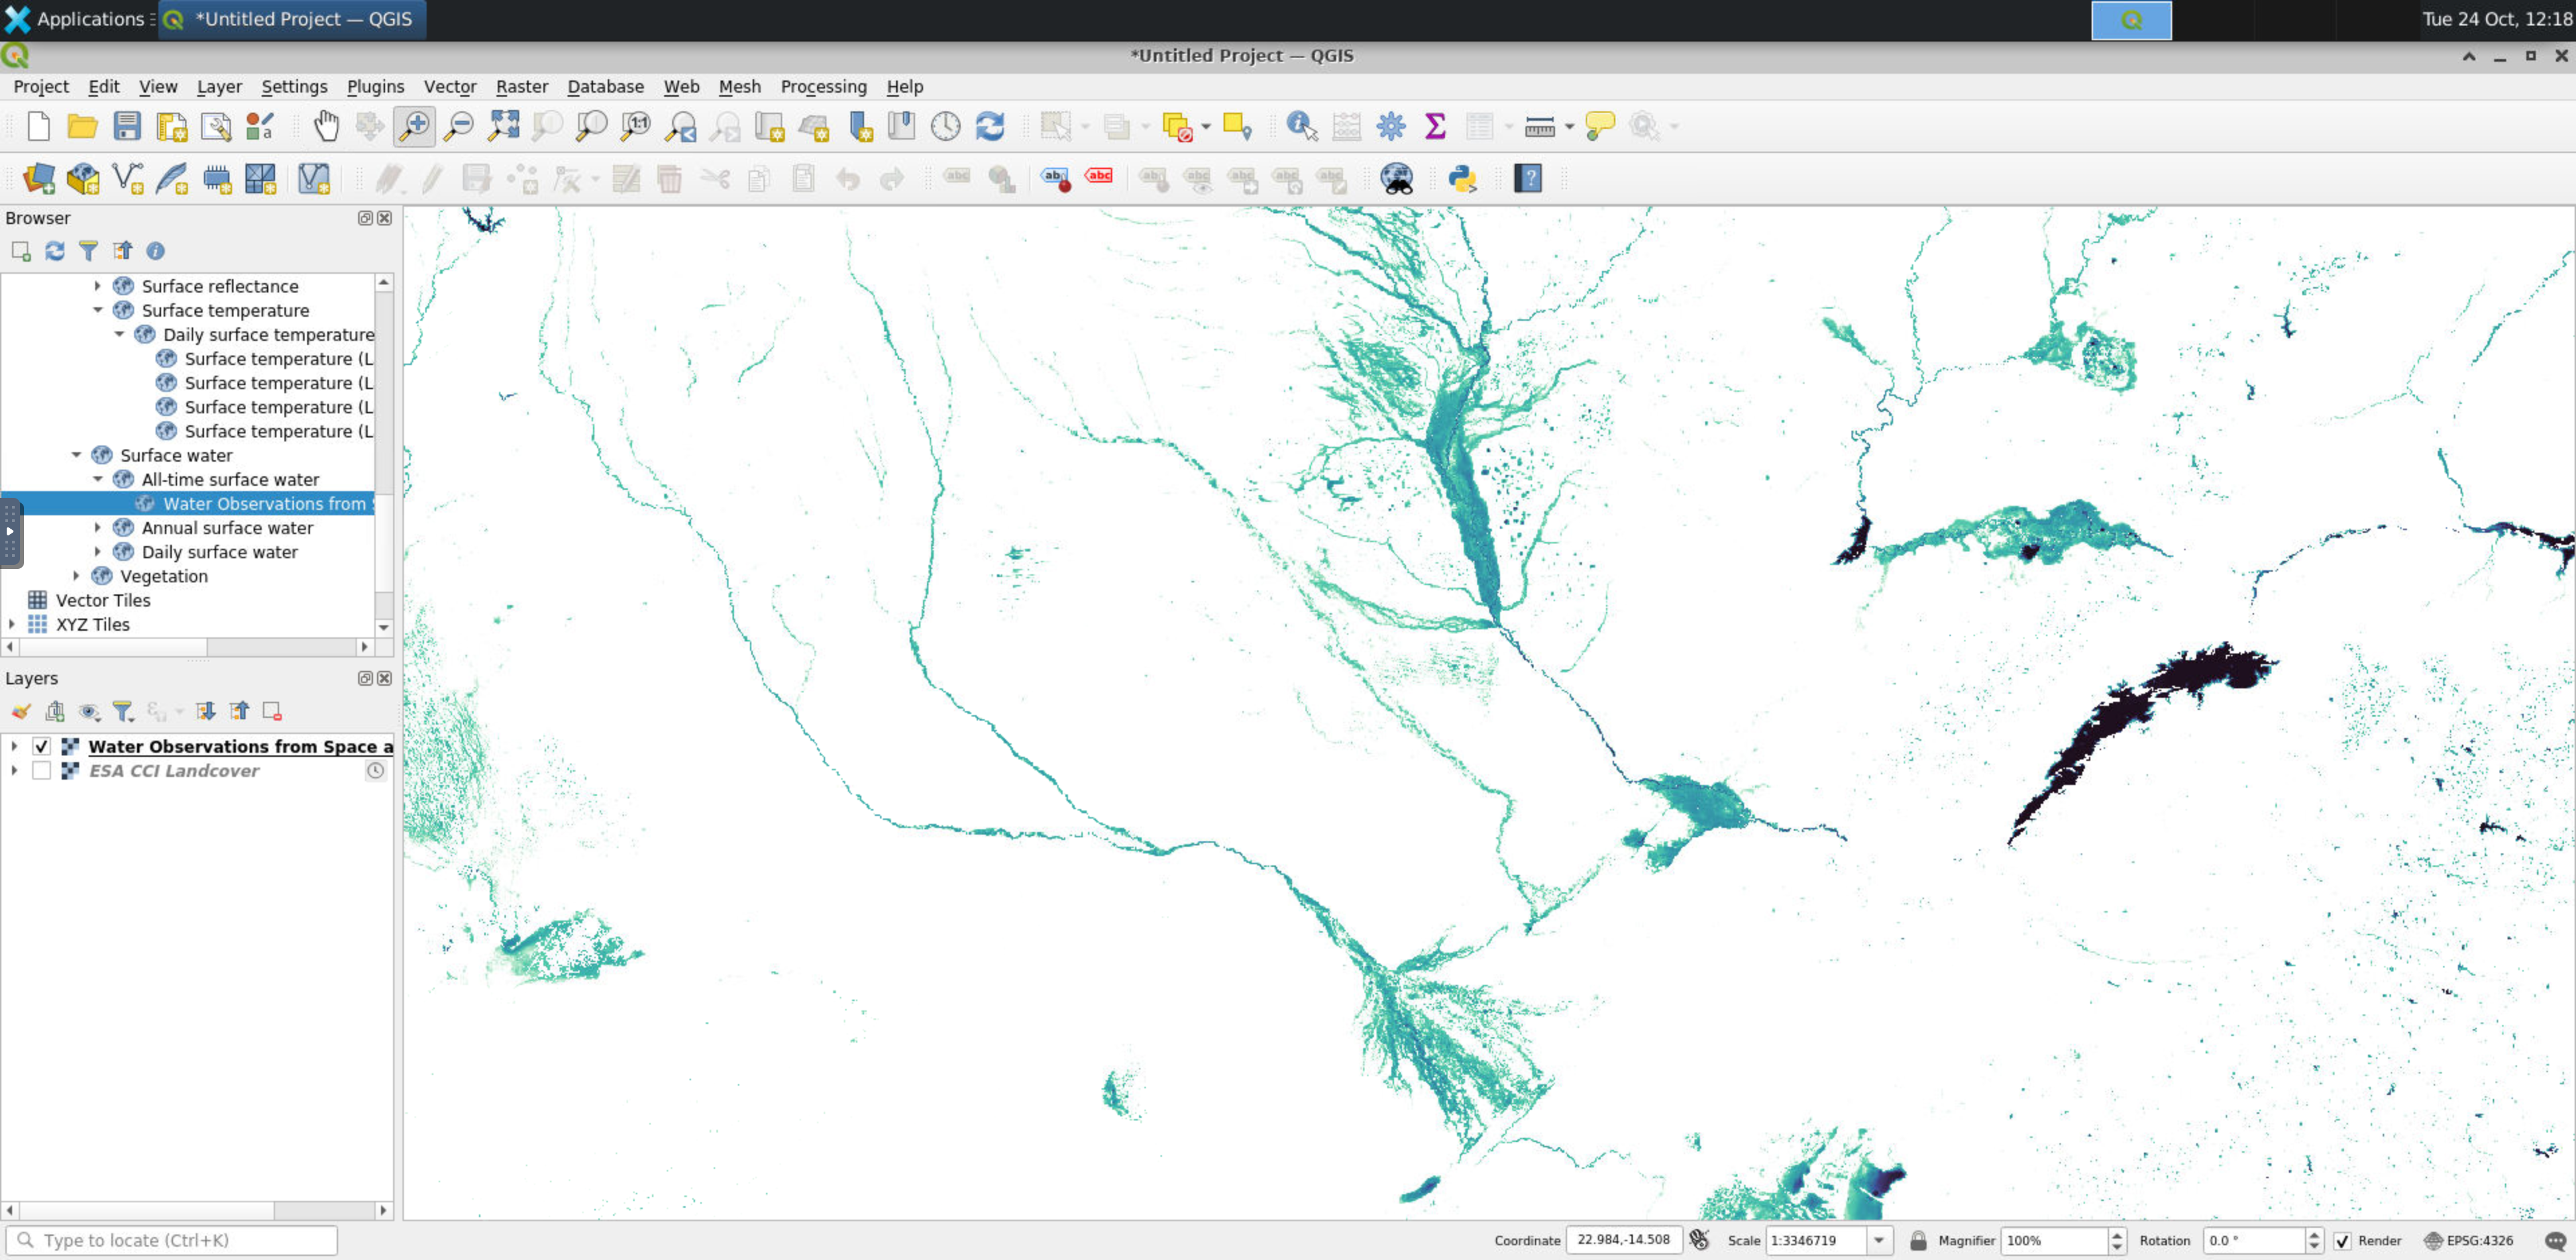
Drag your drop your products into QGIS or use internal functionalities to visualize your hard work.
¶ Upload/download files to/from JupyterLab
¶ Upload files to JupyterLab
To upload a file in the JupyterLab environment, left click on the upward arrow in the filebrowser avilable on the left panel in the welcome page. See the screenshot below:
You can also drag a file from your computer and drop it in the filebrowser on the left panel of the welcome page.
¶ Download files from JupyterLab
To download a file in the JupyterLab environment, right click the file in the filebrowser on the left panel of the welcome page and click download, as depicted in the screenshot below:
¶ Useful tools
¶ Monitor resource usage with htop command
To monitor the processes affecting the load of your machine, execute the ‘htop’ command in a terminal accessible from your JupyterLab environment (screenshot).
To open a terminal, you can click on Terminal in the JupyterLab welcome page.
Options:
Press F6 to change the sorting of the data.
Navigate with the arrow keys and press F9 to kill the selected process.
Leave htop by pressing F10.
¶ Nbgitpuller, a content distributer to Jupyter users
Nbgitpuller allows you to share content with other JupyterLab users. It is a background utility ready to be used.
To use it, first generate a link which points to the content you want to share/ import using this online tool: https://nbgitpuller.readthedocs.io/en/latest/link.html (screenshot). Then share the generated link that provides access to the content you want to share. Nbgitpuller will automatically pull in the content to their file system.
Here’s the official documentation of nbgitpuller: https://nbgitpuller.readthedocs.io/en/latest/
For accessing example notebooks, click the following button to upload the notebooks to your personal space. After than you will see a “dunia_sandbox_notebooks.git” folder:
¶ Virtualenv, a virtual isolated python environment manager
virtualenv is a command line tool that allows users to create isolated Python environments. Virtual environments are used to contain the python interpreter and libraries used in a project. They will not impact your whole system and are easily disposable so you can reset your Python environment if it becomes unusable.
You can use it inside a terminal accessible from your JupyterLab environment.
Here’s the documentation to create virtual environments: https://jhub.sandbox.eoafrica-dunia.org/hub/user-redirect/www/vre-docs/extending_env/venv_pip.html#using-a-virtual-environment
¶ Machine Learning & Artifical Intelligence tools
¶ 1- GPU resources:
The DUNIA Service will soon provide access to GPU resources. Please consult this wiki entry and follow the DUNIA Service on social media to track the progress on this topic.
¶ 2- Pre-installed AI and ML modules:
Please find below the list of pre-installed tools to facilitate your machine learning and artifical intelligence activities:
- Scikit
Users are granted rights to install libraries they may find useful.
¶ Private storage & shared space with TAO
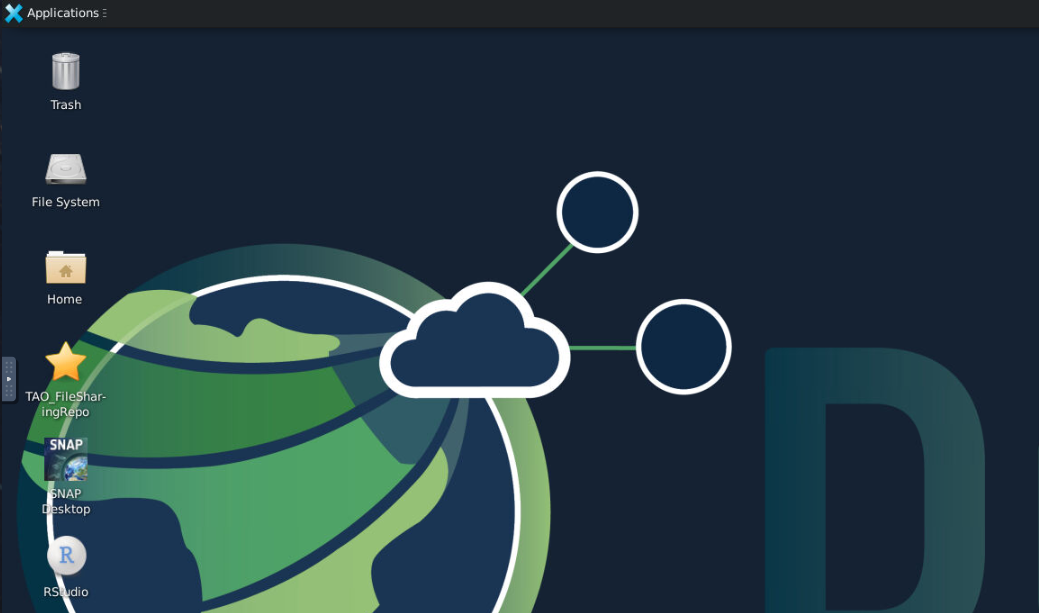
Each user benefits from additional space to store their work and share data with the TAO application. This private storage is accessible from the virtual desktop thanks to the “TAO_FileSharingRepo” icon.
Here you can upload files from the virtual file system to your private storage and download file from the shared space to the virtual file system to be able to work within notebooks.
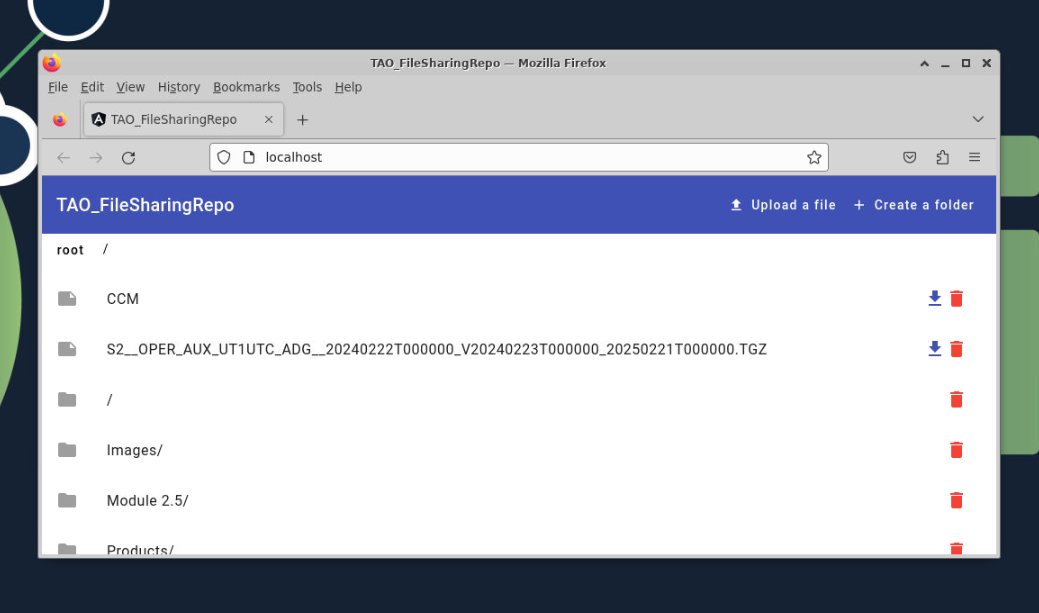
Important note : When you want to save a file, please upload it to your private storage using TAO_FileSharingRepo app and remove it from the virtual file system when you have finished in order to free local disk space.